As a budding musician, I’m excited to share my journey of setting up a professional-quality home recording studio on a modest budget. Today, getting into high-quality music production is easier than ever. Billie Eilish’s award-winning debut album was recorded in her family’s home studio. This shows you can make great music without spending a lot.
This article will guide you through the key gear and steps to create an affordable home studio. I’ll cover everything from the right computer and audio interface to studio monitors and digital audio workstations (DAWs). I’ll share my personal tips and tricks to help you start your home studio journey.
Whether you’re an experienced musician or a beginner, this guide will give you the knowledge and confidence to make professional-sounding recordings at home. So, let’s dive in and explore the world of home studio setup. Your creativity can shine without spending a lot.
Space Considerations for Your Recording Studio
When setting up your home recording studio, think about the room’s size and shape. These things affect the sound quality and how well your studio works. The best space depends on how you plan to use it.
Room Size and Shape
If you’re recording a whole band or a drum set, you’ll need a big space. Think about using a spare garage or basement. For solo work or recording one instrument at a time, a regular-sized room will do. But, make sure it’s not too small and has high ceilings to avoid sound problems.
Avoiding Low Ceilings and Square Rooms
Low ceilings can mess with the sound quality by causing echoes and reflections. If your ceiling is low, you’ll need to add more sound treatment. Square rooms also cause sound issues like standing waves, which can ruin your recordings.
Think about the size and shape of your studio to make the best sound. This will help you make top-notch music at home.
| Room Characteristic | Ideal for Recording Studio | Avoid |
|---|---|---|
| Room Size | Large space for a full band or drum set, regular-sized room for solo/individual instruments | Too small or cramped |
| Ceiling Height | Adequate ceiling height to allow for natural reverberation | Low ceilings |
| Room Shape | Irregular, non-square shapes | Square rooms |
Building a Powerful Computer for Music Production
Setting up your home recording studio starts with the right music production computer. Even basic systems can do simple music tasks. But for complex projects, you need a high-performance computer.
Minimum Specs for Recording and Producing
For audio processing, your computer should have at least 8GB of RAM and a 4-core processor. Also, a 64-bit operating system is best for the latest audio software and plugins.
SSD or HDD for Storage
Use a small solid-state drive (SSD) for the operating system and programs. Add a larger hard disk drive (HDD) for your music files and samples. This combo is cost-effective. The SSD gives fast boot times and quick program performance. The HDD has lots of space for your music production.
| Component | Minimum Recommendation | Ideal Specification |
|---|---|---|
| Processor | 4-core CPU | 8-core or higher CPU |
| RAM | 8GB | 16GB or more |
| Operating System | 64-bit | 64-bit |
| Primary Storage | 256GB SSD | 500GB or larger SSD |
| Secondary Storage | 1TB HDD | 2TB or larger HDD |
Choosing the Right Audio Interface
Setting up your home recording studio starts with the audio interface. It connects the analog and digital worlds. This key device changes your instruments and microphones into digital signals your computer can record.
Choosing the right audio interface depends on how many inputs and outputs you need. For simple recording, like a single track, the Focusrite Scarlett 2i2 is a good choice. But if you’re recording a whole band or drums, you’ll need something like the Audient EVO 4 with more inputs.
Think about these things when picking an audio interface:
- Number of inputs and outputs: Make sure you have enough for now and later.
- Sound quality: Pick interfaces with great analog-to-digital conversion and low noise.
- Connectivity: Choose interfaces that connect via USB, Thunderbolt, or other modern ways for good performance.
- Additional features: Some interfaces have built-in preamps, MIDI, or other cool stuff that might help you.
Getting a good audio interface is key to a pro-sounding home studio. Do your homework and pick one that fits your needs and budget.
Selecting Studio Monitors for Accurate Monitoring

Building your home recording studio needs good studio monitor speakers. These speakers give you a true sound, helping you make clear mix decisions. They are key, as important as your computer.
Monitor Speaker Size and Room Size
Think about the size of your monitor speakers for your room. For small to medium rooms, 5-inch or 6-inch speakers work well. For bigger rooms, go for 6.5-inch to 8-inch speakers.
This choice helps avoid low-end issues in your room. The right speakers make your mixes sound better. They are crucial for a good home studio.
Digital Audio Workstation (DAW) Options
Choosing the right digital audio workstation (DAW) is key for home studio fans. There are free DAWs like Audacity and GarageBand for beginners. But, they don’t match the power of paid DAWs for pros.
Free DAWs for Beginners
For newbies in digital audio, free DAWs like Audacity and GarageBand are perfect. They let you record, edit, and mix music easily. They’re great for those starting out in music and production.
Paid Professional DAWs
For more advanced music making, paid DAWs are a big step up. Ableton Live, Pro Tools, Logic Pro, Cubase, and FL Studio have lots of tools for better music making. You can try them out for free before deciding which one fits you best.
Choosing a DAW depends on your experience, project size, and what you like. Try both free and paid options to find the digital audio workstation, home studio DAW, or music production software that works best for you.
recording studio setup

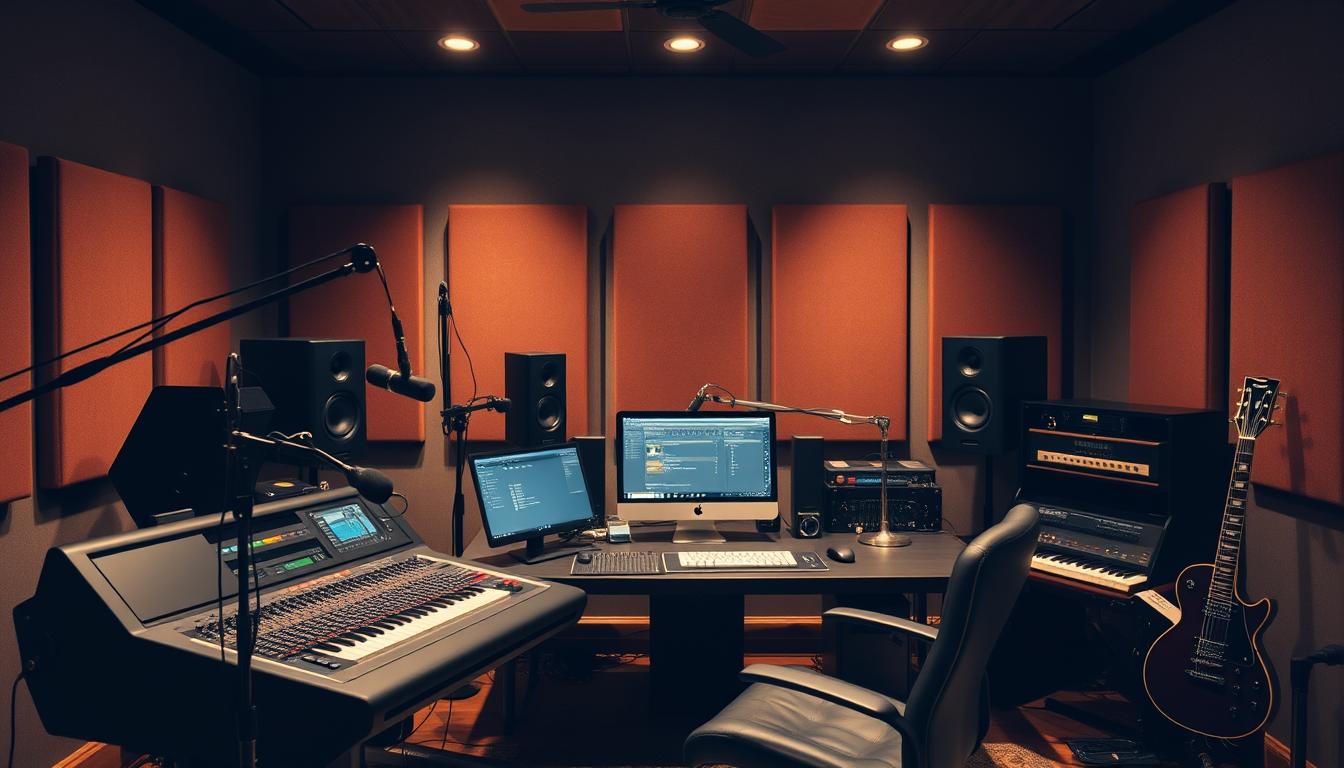
Setting up a home studio for music production is all about the details. You need a space that boosts creativity and cuts out distractions. This means picking the right desk, chair, and lighting, and making sure your studio is quiet.
A good home studio starts with a great workstation. Choose a desk that holds your computer, audio interface, and gear. Make sure your chair is comfy and adjustable for long hours of work. Good lighting is also key. Use task and ambient lights to reduce eye strain and make your studio welcoming.
Don’t overlook the small things that make a big difference. High-quality XLR cables are a must for connecting your gear. A strong microphone stand and a pop filter will also improve your recordings. They help cut down on noise and plosives.
| Essential Home Studio Accessories | Recommended Items |
|---|---|
| XLR Cables | Mogami, Canare, or Neutrik |
| Microphone Stand | Rode PSA1, Neewer, or Atlas |
| Pop Filter | Stedman, Nady, or Aston |
Curating your home studio setup thoughtfully makes it both functional and inspiring. With the right tools and attention to detail, your DIY space can be as good as any professional studio.
Essential Microphones for Recording
Choosing the right microphone is key for a home recording studio. You need the right one for vocals or recording instruments. This section will cover some top picks for your home studio.
For vocals, go for condenser microphones. They’re super sensitive and catch every detail in your voice. The Shure SM7B is a top pick. It’s a dynamic microphone that works great for many vocal styles and even in bad rooms.
For instruments, pick a microphone based on the instrument. For guitars, the Shure SM57 is a top choice. For acoustic instruments like pianos, large diaphragm condenser mics are best.
| Microphone Type | Recommended Uses | Example Models |
|---|---|---|
| Condenser Microphones | Vocal recording, acoustic instruments | Rode NT1, Audio-Technica AT2020 |
| Dynamic Microphones | Instrument recording, live performance | Shure SM7B, Shure SM57 |
When picking a microphone, think about your recording space, what you’re recording, and your budget. Choosing the right microphones for your studio means better audio quality. This will boost your music production and creative work.
Acoustic Treatment for Better Sound Quality
As a home studio fan, I’ve found that good acoustic treatment is key for a pro sound. Many new musicians chase the latest gear. But, the room’s quality is just as important for your recordings.
Knowing the difference between acoustic treatment and soundproofing is vital. Acoustic treatment controls sound in a room. Soundproofing keeps outside noise out. Using DIY solutions like Owens Corning 703 or Rockwool panels helps a lot. These can reduce room resonances and echo, making your sound clearer.
By fixing these sound issues in my studio, I can make better mixing choices. This leads to a more polished, pro-sounding final product. It’s a crucial step for any home studio that I think all new producers should take.