I love making music and know how key good audio is today. New tech has changed how we make and listen to sound. But to really shine, we must focus on the small things. Here, I’ll give you 10 tips to boost your studio’s audio quality and get pro-level recordings.
Good audio matters for podcasts, audiobooks, or music. It changes how people hear your work. With these tips, you’ll make your productions better. Your work will sound amazing.
This guide covers bitrate, acoustic treatment, and more. It gives you the skills and tools for top-notch audio. Let’s start improving your studio’s sound quality together.
Importance of High-Quality Audio Recordings
Technology keeps getting better, making high-quality audio in digital content more important. People want audio to be clear and sharp. This is true for commercials, podcasts, or online meetings.
Poor audio quality can make people frustrated and less engaged. It can also make people think less of the content creator or group.
Technological Advancements and Audience Expectations
Thanks to new tech, people now expect better audio quality. They’re used to the clear sound in movies and music. So, they want the same quality in online videos and webinars.
Impact on Professionalism and Perception
The quality of audio can show how professional something is. Good audio shows a focus on quality. It makes people trust and respect the creator or group more.
On the other hand, bad audio can make people doubt the quality of the content. This can hurt how people see the brand or person making the content.
In today’s world, where people have short attention spans and lots of choices, high-quality audio standards for online media are key. Putting effort into the importance of audio quality in digital content can make the audience’s experience better. It can also change how people see the content creator or group.
Understanding Bitrate and Audio Quality
As an expert in audio production, I know bitrate is key to audio quality. It measures data transfer per second. This affects how clear your audio files sound.
Bitrate Definition and Its Role in Audio Quality
Bitrate is how many bits encode one second of audio. Higher bitrates mean more detail, leading to richer sound. Files with low bitrates, under 90 kbps, sound poor even for casual listeners.
Ideal Bitrate Levels for Different Audio Formats
- For streaming services like Spotify, the ideal bitrate range is 96 to 160 kbps.
- MP3 files can range from 96 to 320 kbps, with higher bitrates providing better audio quality.
- Recording uncompressed WAV files at 1,411 kbps can help ensure a professional-grade, high-definition final product.
Choosing the right bitrate is key for a great listening experience. Knowing how bitrate works and picking the best levels for your project ensures top sound quality.
| Audio Format | Ideal Bitrate Range (kbps) |
|---|---|
| Streaming Services (e.g., Spotify) | 96 – 160 |
| MP3 Files | 96 – 320 |
| Uncompressed WAV Files | 1,411 |
Common Factors Affecting Audio Quality

Getting great audio takes more than just pressing record. Important things like where you place the mic, how much background noise there is, and the quality of your gear matter a lot. Knowing these can help make your audio sound professional and clear.
Microphone Placement and Distance
Putting the mic right is key for clear, clean sound. Keep it 4-6 inches from the speaker’s mouth for the best sound. This way, you get the sound you want and avoid extra noise.
Make sure the mic is straight at the speaker’s mouth, not tilted. This helps make the sound even better.
Background Noise and Ambient Sounds
- Traffic noise, electronic hum, or other sounds can ruin your recording.
- To cut down on background noise, try recording in a quiet room or use sound panels.
- If you’re stuck in a noisy place, you might need special mics or editing software to fix it.
Recording Equipment Quality
The gear you use can really change how good your audio sounds. Built-in mics might be easy, but they don’t compare to professional ones. Spending on better mics and interfaces can really improve your sound.
| Factor | Impact on Audio Quality | Recommended Solution |
|---|---|---|
| Microphone Placement | Wrong placement can cause distortion or unclear sound | Keep the microphone 4-6 inches from the speaker’s mouth, pointed directly at the source |
| Background Noise | Background sounds can be annoying and lower the quality | Record in a quiet room or use sound panels; think about mics that block out noise or editing tools |
| Recording Equipment Quality | Basic mics on laptops or phones don’t match pro gear | Buy a good condenser mic and an audio interface |
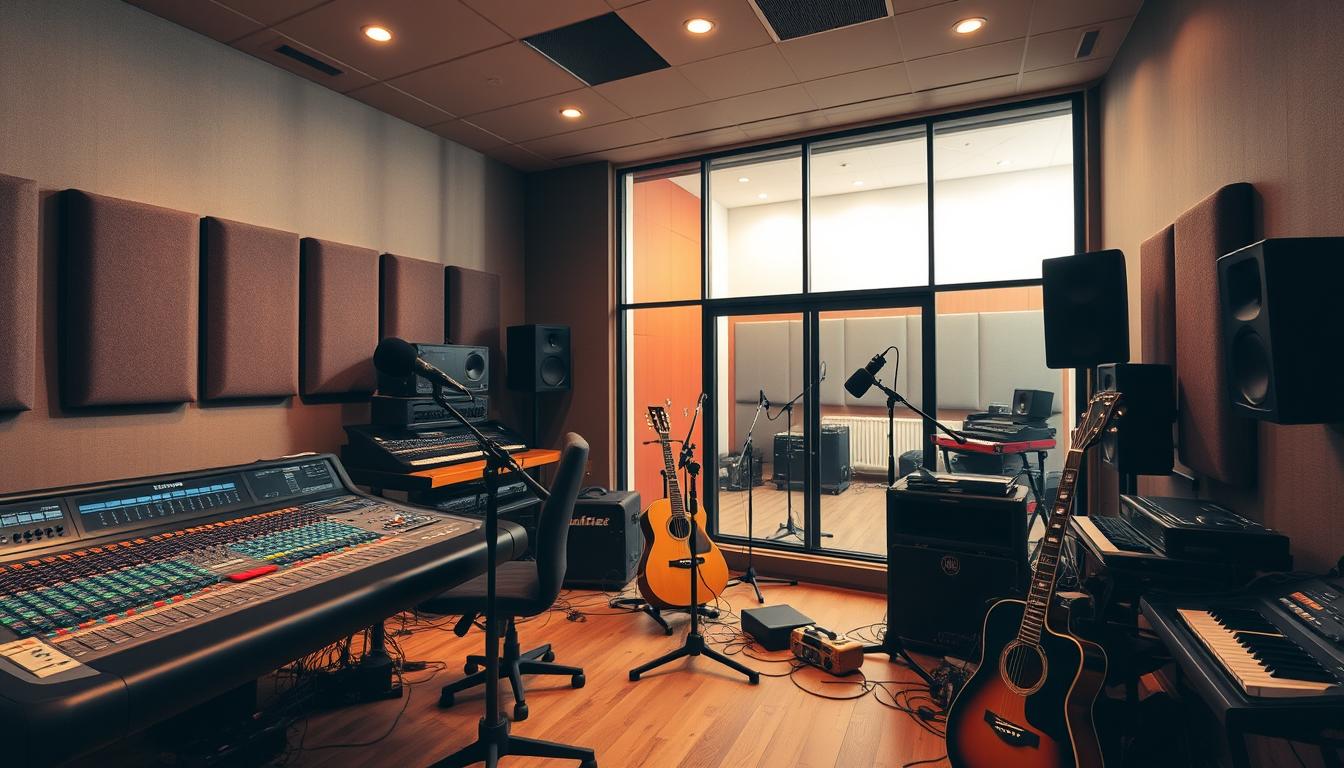
optimizing sound in studios

As an audio recording fan, I’ve found that a top-notch microphone is key to better recordings. It doesn’t matter if it’s a USB or XLR model. The right mic makes a big difference in your audio’s clarity and detail. Also, making your recording space soundproof and acoustically treated boosts your audio quality.
Investing in a Quality Microphone
Choosing the right microphone is very important. High-quality microphones, like condenser, dynamic, or ribbon types, catch subtle details that cheaper ones don’t. By focusing on a quality microphone, your recordings will sound more professional.
Soundproofing and Acoustic Treatment
Soundproofing and acoustic treatment are key for great audio. Adding things like acoustic panels and bass traps cuts down on echoes and background noise. This makes your recordings sound cleaner and more professional. Taking the time to treat your studio’s sound will greatly improve your audio quality.
| Microphone Type | Ideal Use | Typical Price Range |
|---|---|---|
| Condenser | Vocals, acoustic instruments, podcasting | $100 – $1,000+ |
| Dynamic | Vocals, drums, amplified instruments | $50 – $500 |
| Ribbon | Vocals, brass, strings | $300 – $2,000+ |
Investing in a quality microphone and treating your space right leads to pro-sounding audio. With these tips, you can make your recordings stand out. This will give your listeners a deep and engaging experience.
Recording Techniques for Optimal Audio Quality
Getting great audio quality is more than just having the right gear. The right recording techniques make a big difference in the sound. Let’s look at some key practices for clear and deep audio.
Using a Microphone Stand and Pop Filter
Keeping the microphone at a steady distance is key for consistent sound. A good microphone stand keeps your mic in the right spot. A pop filter also helps by cutting down on harsh sounds from breaths, making your audio cleaner.
Recording Separate Tracks for Multiple Speakers
Recording each person on a separate track gives you more control in mixing. This lets you adjust levels and effects for each voice. It makes the final mix sound better and more professional.
Wearing Headphones During Recording
Using high-quality headphones while recording changes everything. You can adjust the sound as you go to match what you want. This way, you can fix any issues like background noise before it’s too late.
Using these techniques can make your audio projects sound professional and engaging. Mastering these tips will help your content stand out and connect with your audience.
Optimizing Audio Settings and Software
Setting up your audio settings and software is key to making high-quality recordings. It’s important to set the right gain levels to avoid distortion. Also, using uncompressed audio files like WAV keeps the recording’s full quality.
Setting Proper Gain Levels
Getting the gain levels right is crucial for a clean recording. It helps capture the audio at the best level without distortion. This keeps the sound natural and clear, making your final product sound professional.
Recording Uncompressed Audio Files
Recording in formats like WAV has many benefits. These files keep the original sound’s full detail without losing quality. This means you have a top-notch source for editing and post-production.
Using professional recording software with features like gain control helps improve your audio quality. By optimizing your audio settings and using the right tools, you can capture the true sound you want.
Improving Room Acoustics and Speaker Placement
To get the best sound in your home studio, you need to check and fix the room’s acoustics. Make sure speakers are in the right spot. Doing this makes your recordings sound balanced and full.
Evaluating and Adjusting Room Acoustics
Start by checking the room’s sound quality. Look for problems like too much echo or flutter echoes. Use special tools or just listen to see how the room sounds.
After finding the issues, fix them with sound-absorbing panels and other tools. These items help control echoes and make the sound even. Try different spots and amounts to see what works best.
Optimal Speaker Positioning for Balanced Sound
Putting speakers in the right place is key for great sound. Try the equilateral triangle setup for a centered sound. This means the speakers and you form an equal-sided triangle.
Also, play with the distance and height of the speakers. Trying different spots can help you find the best sound for your room.
By working on the room’s sound and where you place speakers, you can make a space that sounds amazing. This way, your recordings will sound professional and impress everyone.
Testing and Refining Audio Quality
As an audio pro, I always test and improve the audio quality during recording. I use headphones, speakers, and stereos to check how my recordings sound. This makes sure they sound good everywhere.
I adjust things like microphone placement and sound settings based on what I hear. This helps me get the sound just right. It makes sure my recordings are clear and detailed.
By paying attention to small details, I can make my recordings sound amazing. This careful work is key to meeting the high standards of today’s listeners. It takes effort, but it’s worth it for the great sound I want to share.