I’ve spent years making podcasts, audiobooks, and videos. I know how key good audio quality is. If you’re making content, bad audio can really let your audience down. But don’t worry, I’ve got expert tips and solutions to help you improve your audio.
Learn how to make your audio clear and professional. You’ll find out how to fix common audio problems. If you want to make your podcast, audiobook, or video sound better, keep reading. Discover the secrets to clear, engaging sound.
Why Audio Quality Matters
Audio quality is very important in making content. Studies show that good audio makes people see the content and speaker better. Bad sound makes the speaker sound less smart and the content less believable.
Adjusting Frequencies in the 1-3 KHz Range
Improving audio quality means tweaking the 1-3 KHz range. This area is key for making voices clear and strong. By boosting these frequencies, your audio becomes more engaging and clear.
Good audio quality greatly affects how clear and believable the voice is. Research shows that people think speakers with great audio sound smarter and nicer. That’s why making your audio quality better is key for podcasts, videos, or online chats.
By focusing on the importance of audio quality and adjusting the 1-3 KHz range, your content will stand out. It will connect with your audience in a deep way.
Common Causes of Muffled Audio
Getting clear, crisp audio is key. But, there are many things that can make your sound muffled. Knowing what these are is the first step to better recordings.
Using a low-quality microphone is a big problem. Cheap or poorly made mics make your recordings sound unclear and dull. A good, professional microphone can greatly improve your sound.
Background noise is another big issue. Things like computer fans, people talking, or traffic can drown out your audio. Using the right microphone setup and sound-absorbing materials can help.
- Poor microphone quality
- Background noise
- Incorrect microphone positioning
- Excessive audio effects and processing
Also, where you put your microphone can cause muffled audio. If it’s too close or too far, or not angled right, your sound won’t be clear. Try different ways of placing your microphone to find what works best.
| Cause | Description | Solution |
|---|---|---|
| Poor microphone quality | Inexpensive or poorly-designed microphones can result in a lack of clarity and definition in your recordings. | Invest in a high-quality, professional-grade microphone. |
| Background noise | Unwanted ambient noise can quickly overshadow your intended audio. | Use proper microphone positioning and sound-absorbing materials to minimize background noise. |
| Incorrect microphone positioning | If the mic is too close or too far from your mouth, or if it’s angled incorrectly, the resulting sound may lack clarity and definition. | Experiment with different microphone positioning techniques to find the optimal setup. |
| Excessive audio effects and processing | Applying too many audio effects or heavy-handed processing can muffle and distort the original sound. | Use audio effects and processing sparingly, focusing on enhancing the natural quality of your voice. |
Fixing these common issues can greatly improve your recordings. You’ll get clear, crisp audio that captures your voice well.
Techniques for Improving Voice Clarity

Using EQ is a great way to make your voice clearer. Boosting the 1-3 KHz range adds brightness and makes your voice stand out. A high-pass filter can also remove low rumble or noise, helping your voice sound clearer.
Using EQ to Enhance Vocals
EQ is crucial for making your voice sound better. Find where your voice is in the 1-3 KHz range. Boost this area by 2-4 dB to make your voice clearer.
Also, use a high-pass filter at 80-100 Hz to cut low-end rumble. This makes your voice easier to understand.
Be careful not to make your voice sound too processed. Make small changes until your voice sounds clear and strong in the mix.
| Technique | Frequency Range | Recommended Adjustment |
|---|---|---|
| Boosting 1-3 KHz | 1-3 KHz | +2 to +4 dB |
| High-Pass Filtering | 80-100 Hz | -∞ to -12 dB |
These vocal enhancement techniques can greatly improve your recording’s clarity. Focus on making smart EQ changes. Use high-pass filtering to clean up low-end sounds and boost the 1-3 KHz range. With practice, you’ll get clear, professional-sounding vocals quickly.
Minimizing Background Noise

Recording high-quality audio can be tough, especially with background noise. Whether it’s for a podcast, video, or interview, unwanted sounds can ruin your audio. Luckily, there are ways to cut down on this noise and make your recordings sound great.
Using Pop Filters
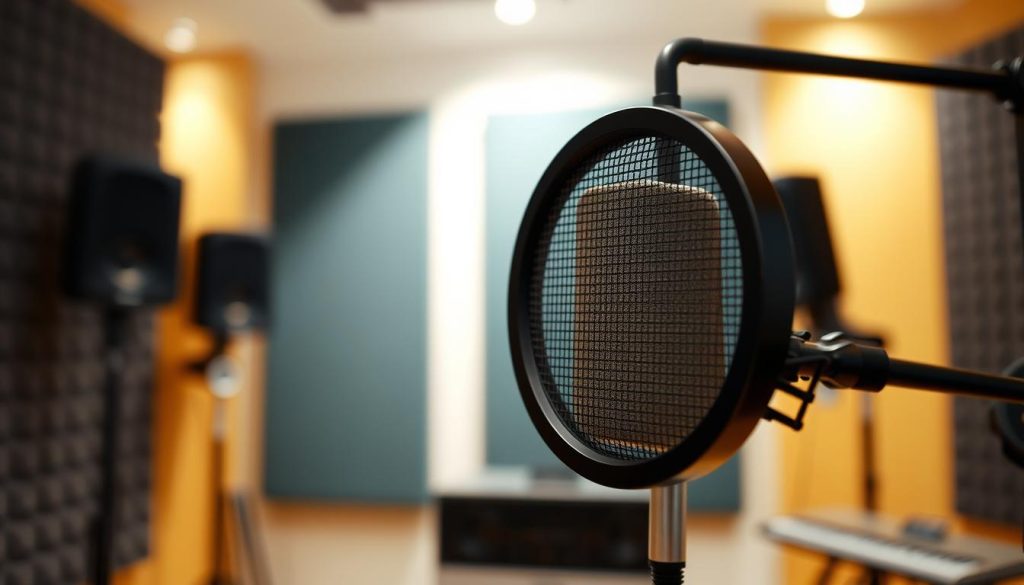
Using a pop filter is a great way to lessen background noise. These devices go in front of your microphone. They stop sounds like “p” and “b” from making loud air noises that mess up your audio. Pop filters make your recordings clear by smoothing out these sounds.
Pop filters also keep your microphone safe from moisture and particles. This means your microphone will work better for longer. With a good pop filter, you get cleaner audio without needing to fix noise later.
Microphone Positioning
Where you put your microphone is also important for cutting down on background noise. If it’s too far away, your voice sounds far off. Too close and you get loud “p” sounds. Try different spots and angles to find where your voice is clear and the noise is gone.
The closer your microphone is to your mouth, the better your audio will be. This boosts the signal and lessens background noise. So, your recordings will be clearer.
Using a pop filter and the right microphone spot helps a lot in reducing background noise. These easy steps can greatly improve your recording quality.
Tips for Recording Clear Audio
To get professional-sounding audio, you need a high-quality microphone for vocals. These mics are made to give you clear, crisp sound. Also, it’s important to find a quiet place without noise like traffic or background talk.
Using a microphone stand helps a lot too. It keeps your mic steady, so your recordings won’t be shaky. This makes sure your audio stays clear and focused.
If you’re recording with others, try recording each person on a separate track. This lets you adjust the audio levels for each person without affecting the mix. By setting up your recording right, you can get clear, clean audio that grabs your listeners’ attention.

